How the panel works
- Hold your dictation shortcut (Fn by default, customizable in Settings > Shortcut) and start speaking.
- While still holding, press a key to choose an output format (optional).
- Release to insert the result at your cursor.
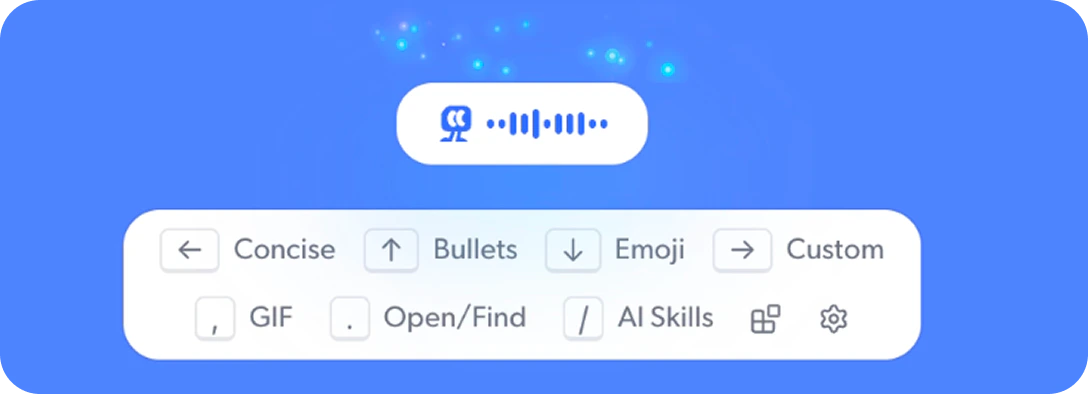
Output actions
While holding your dictation shortcut, press one of these keys to pick how your speech is processed. The selected action highlights in the panel. ← Left arrow: Concise. Polishes your speech into clean text. Fixes grammar, punctuation, and formatting. This is the default.


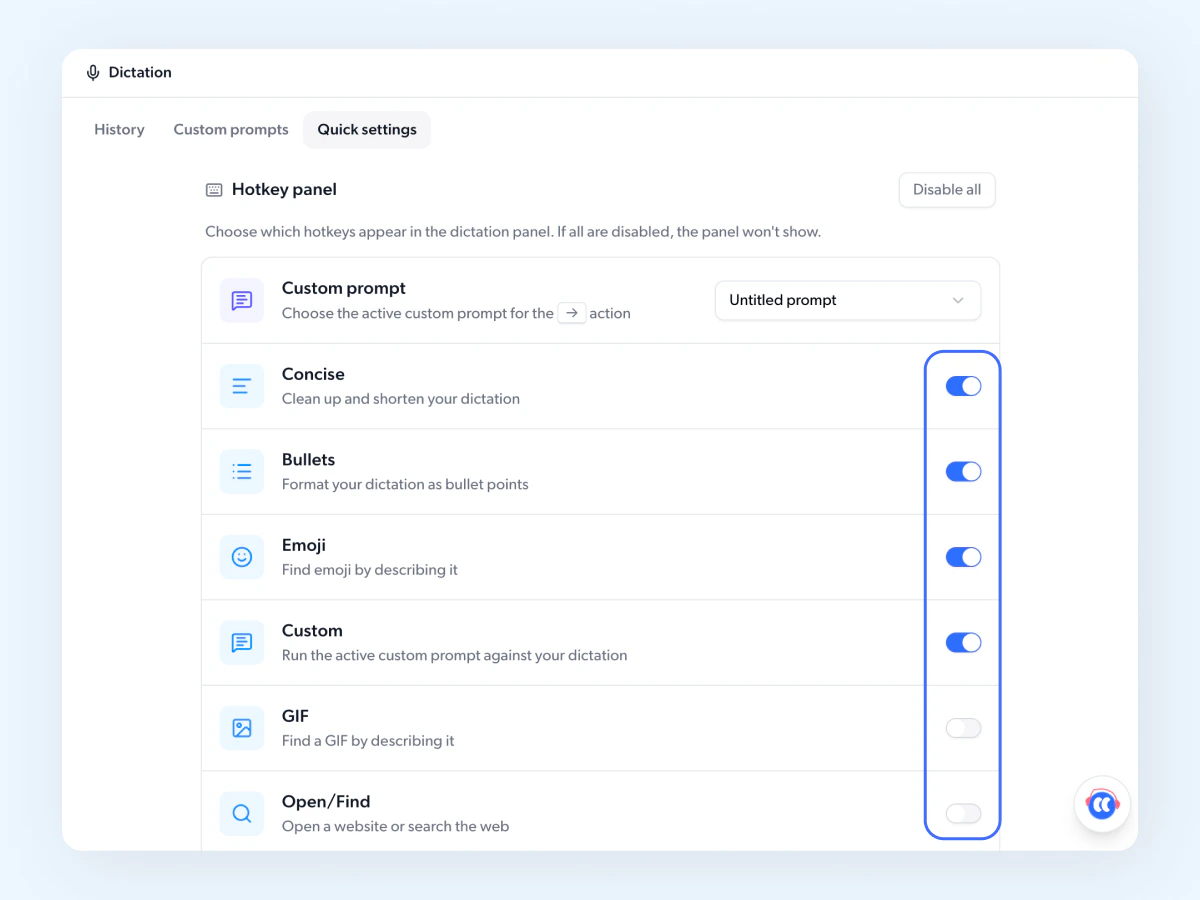
Customize your dictation panel
You can choose which hotkeys appear in your dictation panel, so only the ones you actually use show up.- Click Dictation in the sidebar.
- Open the Quick settings tab.
- Find the Hotkey panel section.
- Toggle on the hotkeys you want to show, and toggle off any you don’t need.
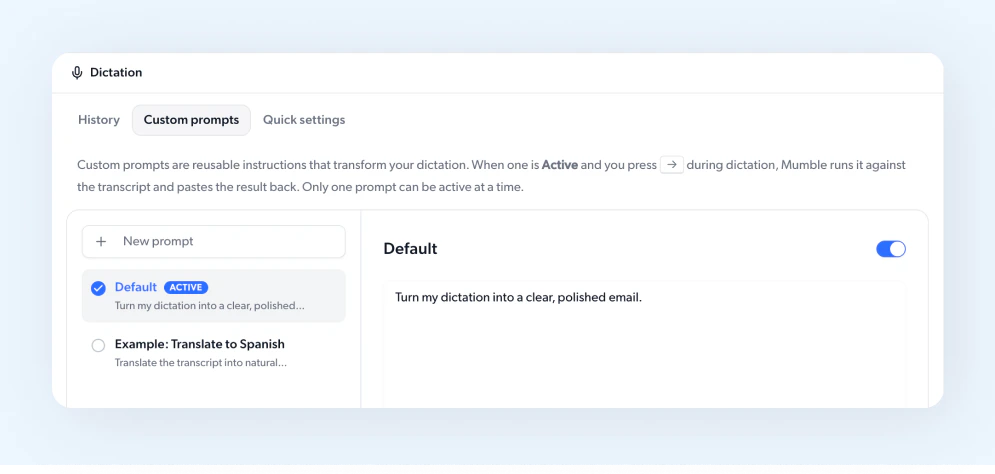
Set up a custom prompt
The → key triggers whatever custom prompt is active. To set up a custom prompt:- Click Dictation in the sidebar.
- Go to the Custom prompts tab.
- Click + New prompt and enter your prompt.
- Toggle it on when you’re done.
Custom prompt ideas
Your prompt can be anything that transforms text. A few examples:- Translate. “Translate into Spanish.” Dictate in English and get Spanish output.
- Change tone. “Rewrite in a formal, professional tone.” Turn casual speech into polished writing.
- Shorten. “Condense to one paragraph.” Get a tight summary of a longer thought.
- Reformat. “Rewrite as a numbered step-by-step guide.” Turn spoken instructions into structured steps.