System requirements
Mumble AI requires macOS 14.2 or later and Apple Silicon (M1 or above). Intel Macs are not supported yet. If you plan to use Local Mode, Apple Silicon with 24GB or more memory is recommended.Install Mumble AI
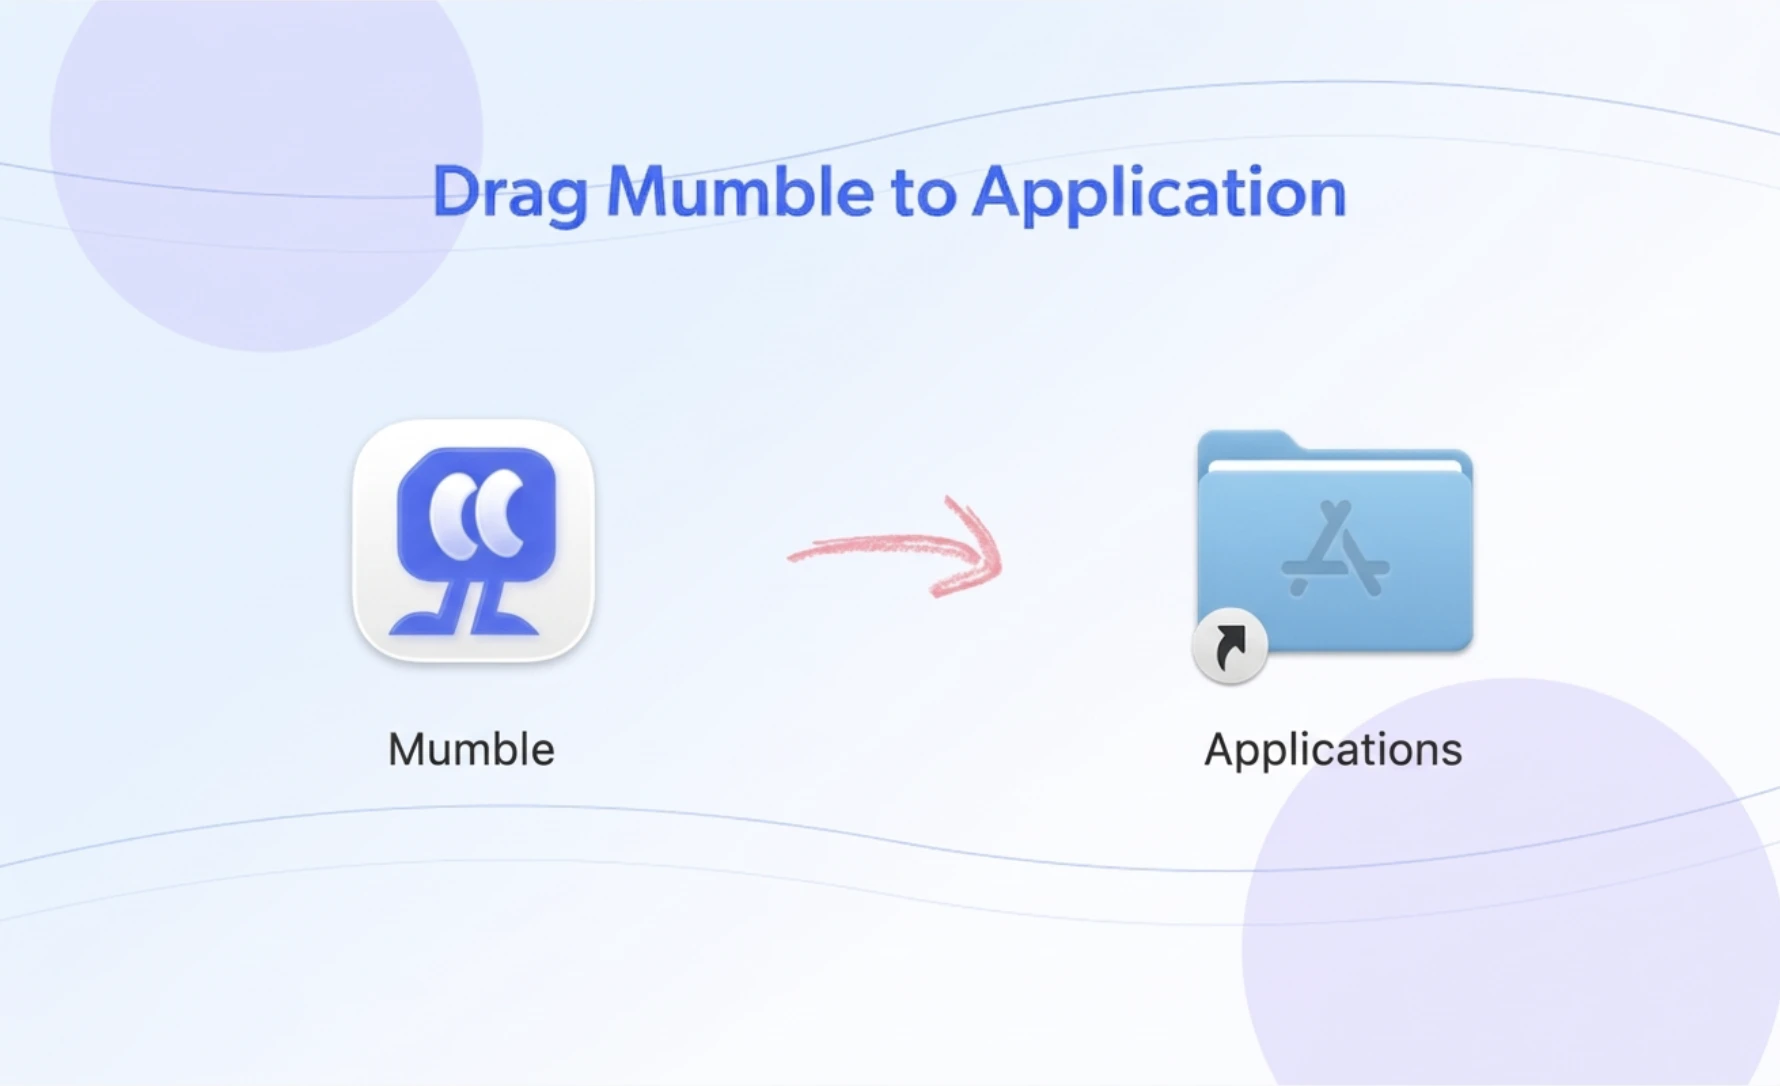
- Download Mumble AI from heymumble.com
- Open the downloaded file and drag Mumble AI to your Applications folder
- Launch the app
Sign in with Google
Mumble uses Google sign-in. You can log in with either a Google Workspace account or a personal Gmail account.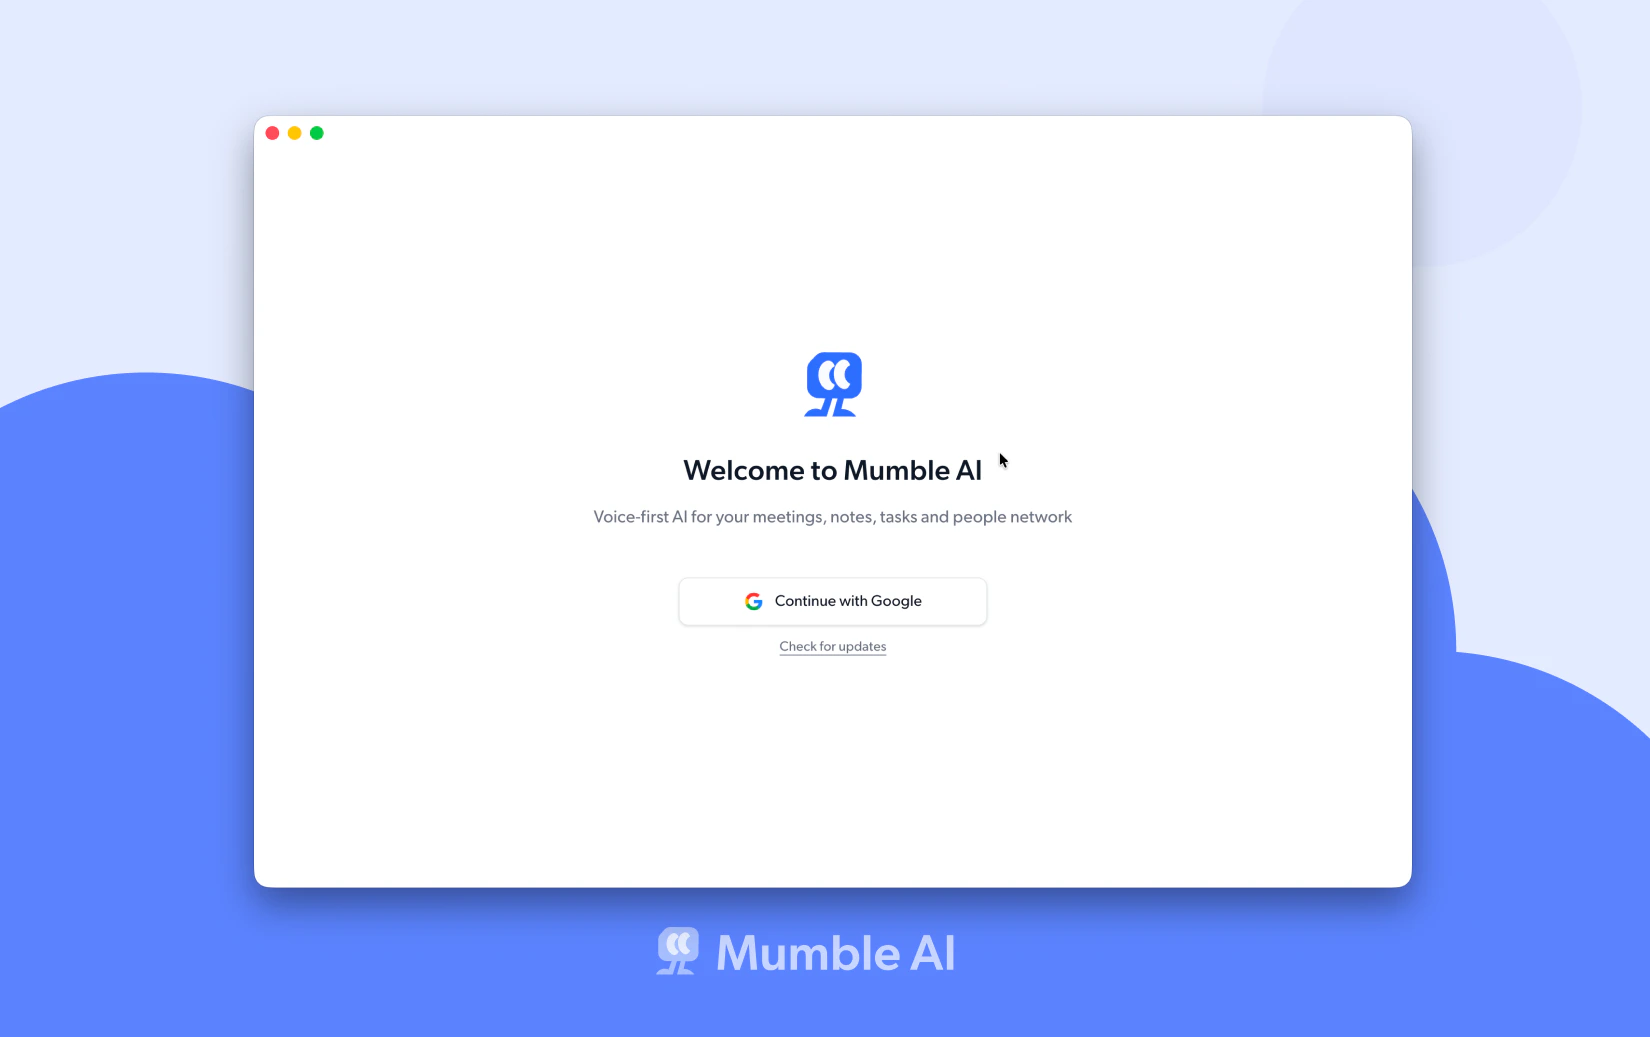
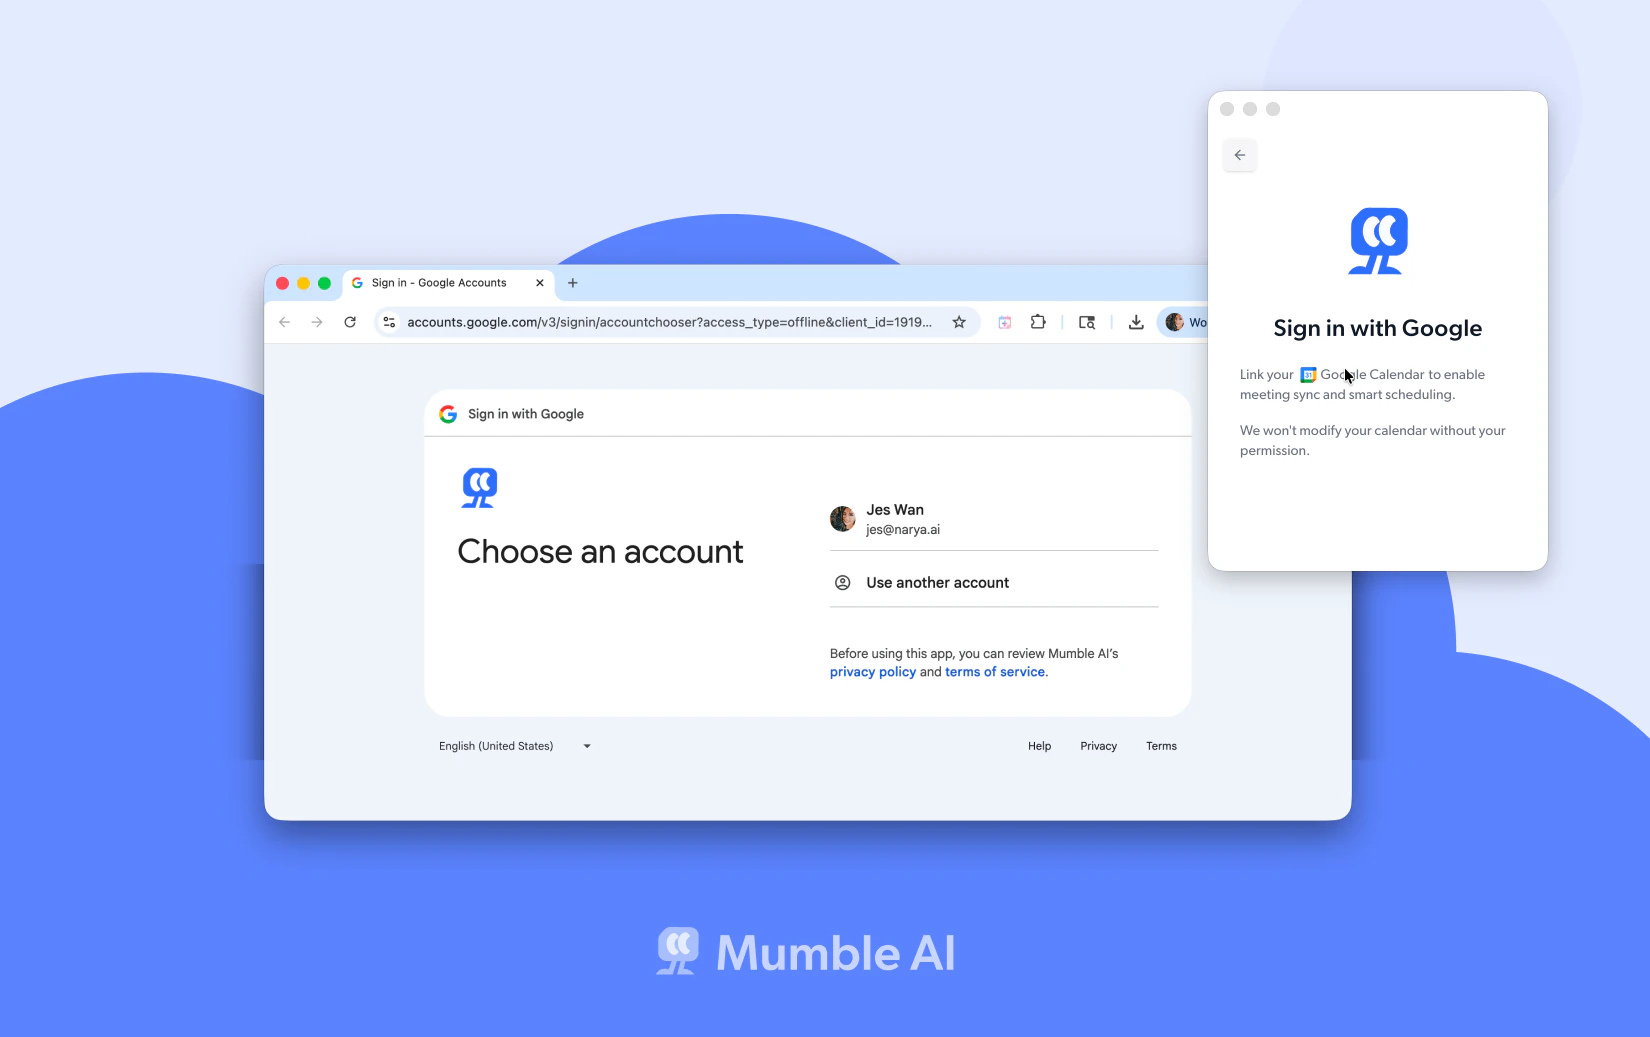
Connect your Google Calendar
During sign-in, Mumble will ask for permission to access your Google Calendar. Grant this to get the full experience. With calendar access, Mumble can show your upcoming meetings in the app, remind you before a meeting starts, automatically start and stop recording when a meeting is in progress, and let you join calls with one click.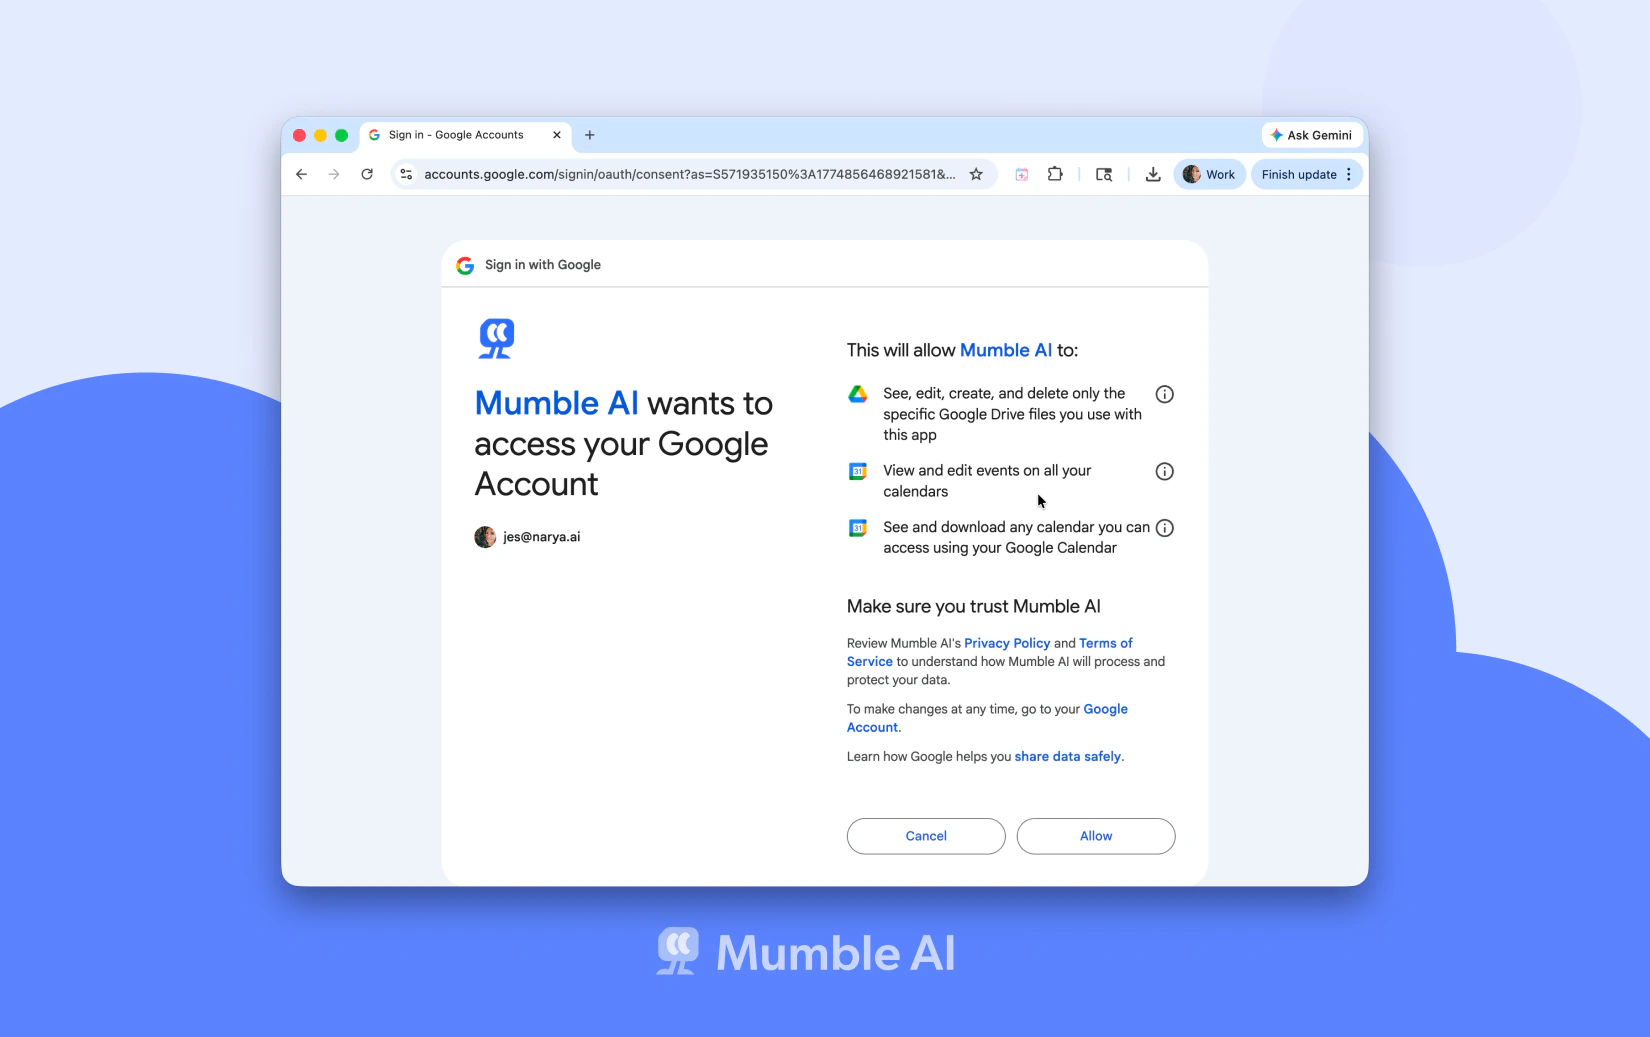
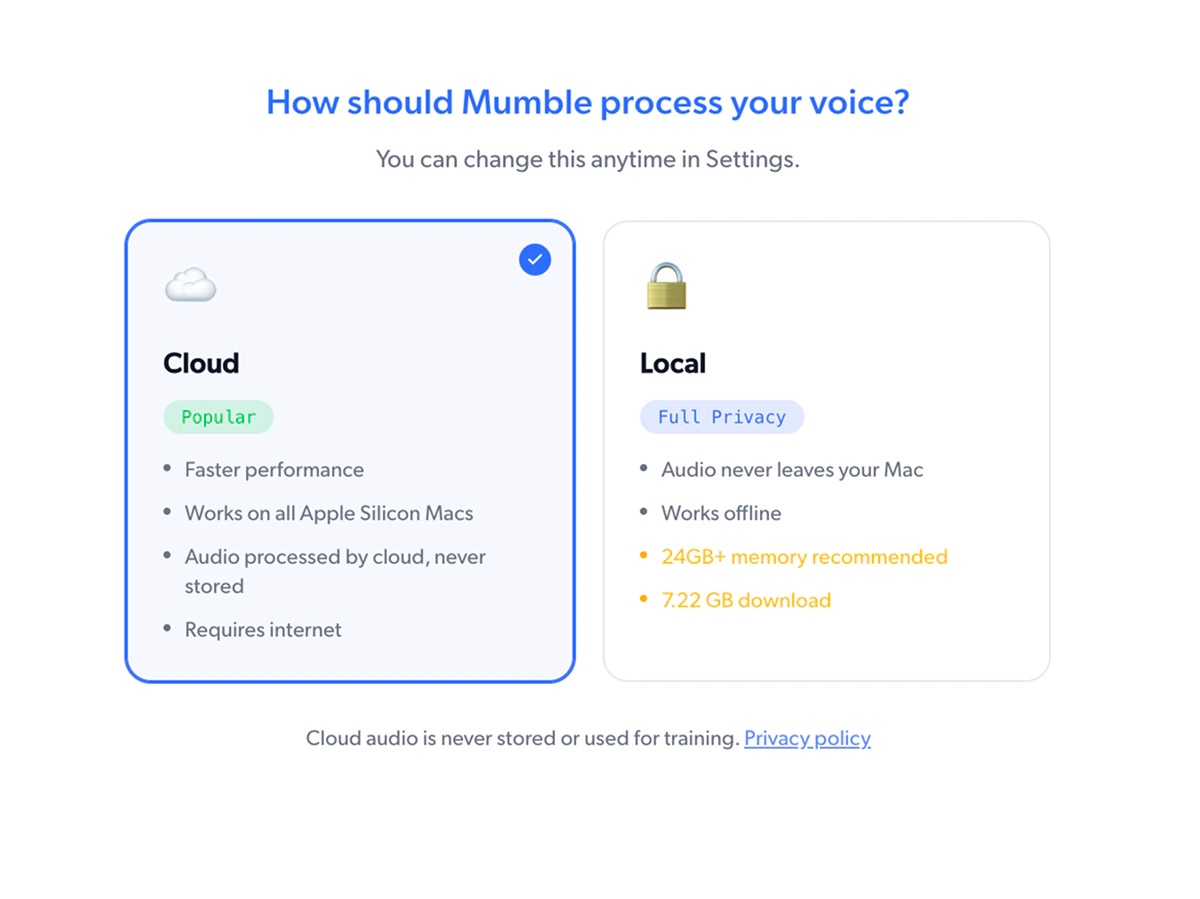
Choose your processing mode
Back in Mumble after sign-in, Mumble starts by asking what you plan to use it for: Meeting Notes, Voice Notes, or Dictation. Pick all that apply. Then choose how Mumble should process your audio.- Cloud. Best accuracy and fast performance, powered by the latest large language models. Requires internet. Audio is processed in the cloud and never stored.
- Local. Full privacy. Audio never leaves your Mac and works offline. Apple Silicon with 24GB+ memory is recommended.
- If your Mac meets the requirement, Mumble starts downloading the local model right away.
- If your device has less than 24GB, Mumble will let you know the local model may run slowly or use a lot of memory. You can still proceed with the download or switch to Cloud.
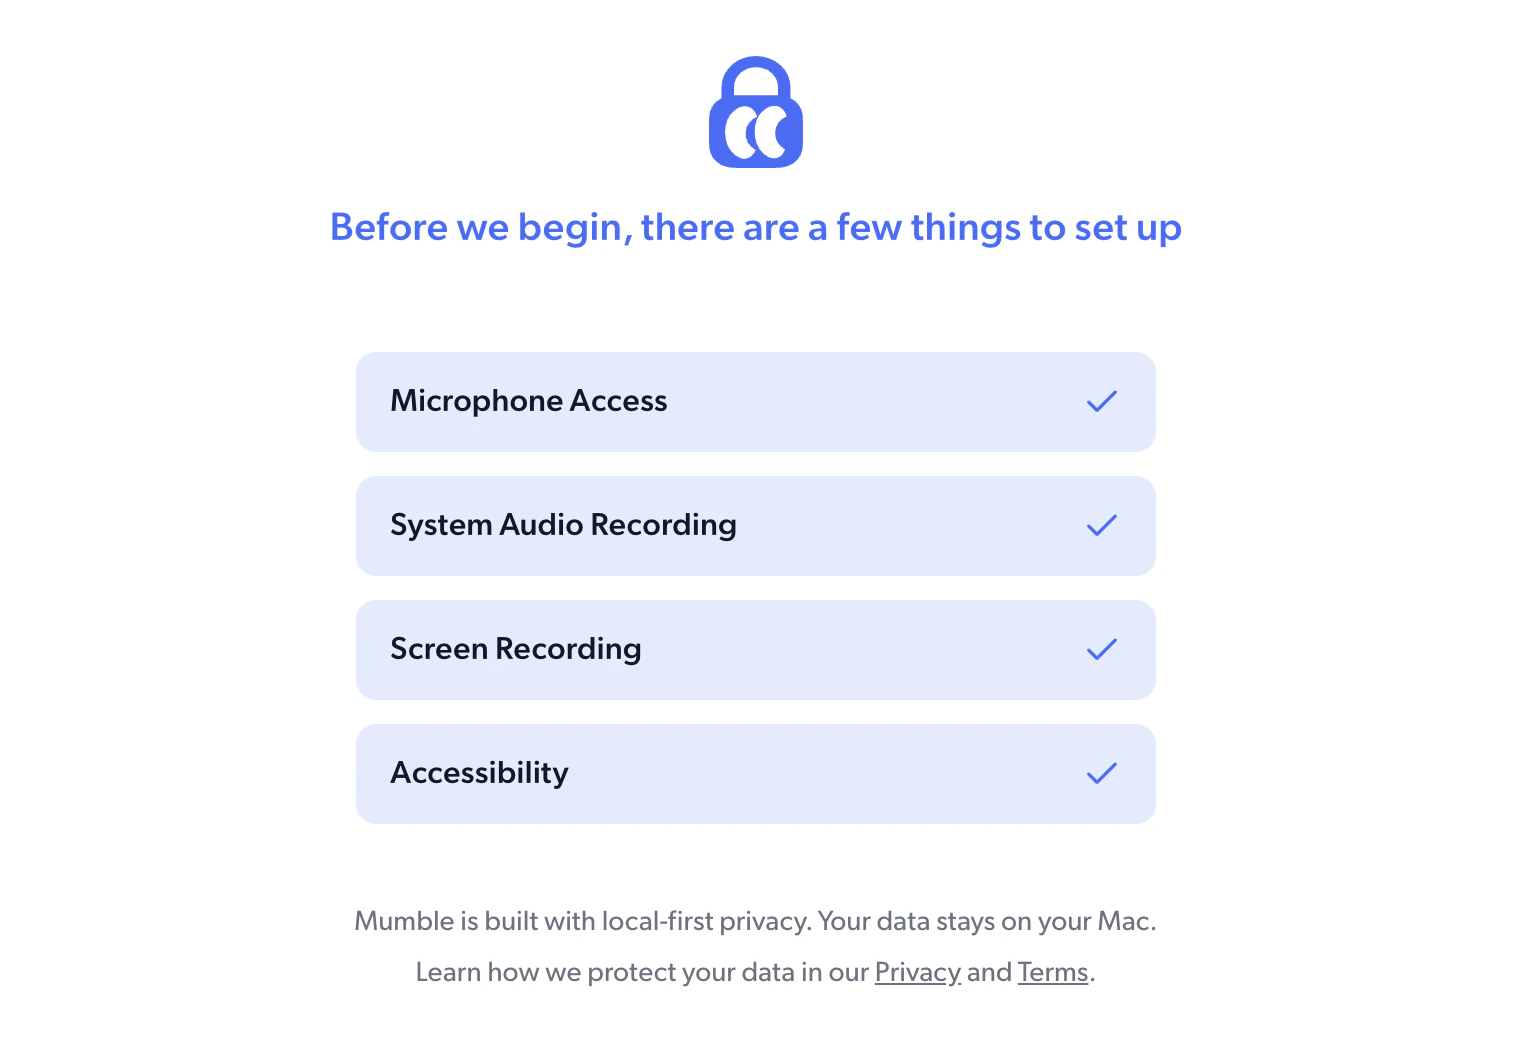
Grant permissions
Mumble then walks you through a few macOS permissions it needs before you can get started. Which permissions you see depends on the features you selected in the previous step. The first two are required for Mumble to function at all:- Microphone Access. Lets Mumble hear your voice for recordings, voice notes, and dictation.
- System Audio Recording. Lets Mumble capture audio from other apps, so it can hear the other participants in your meetings.
- Accessibility. Enables Mumble to detect when meetings start and end, so recording can begin and stop automatically. Lets Mumble read the context in the active text field, so it can produce better output for dictation.
- Screen Recording. Enables Mumble to read participant names from the meeting window, so your transcript gets accurate speaker labels.
Set up your shortcuts
Mumble uses two keyboard shortcuts. During setup, you’ll configure them and make sure they work on your Mac.- Hold Fn for dictation and AI chat.
- Press Fn + Space for voice notes and skills.

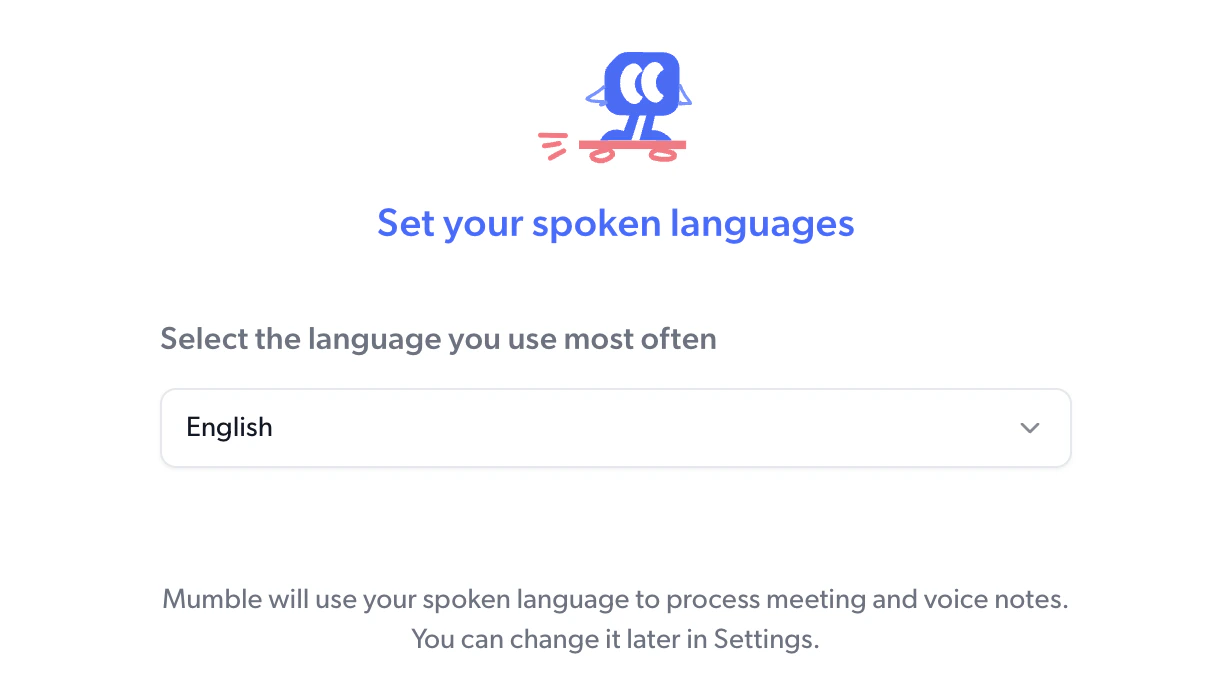
Choose your language
Select the language you use most often. Mumble uses this to optimize transcription for meetings, voice notes and dictation. You can change it later in Settings > Preference > Languages.