
Before you start
Check that your Mac meets the requirements: Apple Silicon, macOS 14.2 or later, and ideally 16GB of memory or more. You also need an internet connection and about 6GB of free disk space for the one-time model download.Set up in six steps
1
Download and open the app
Download the installer from heymumble.com/dictation. Open the downloaded
Mumble-Dictation-Mac-latest-arm64.dmg file and drag Mumble Dictation into Applications, then launch it.2
Review and accept the terms
On first launch, Mumble shows the Terms of Service and Privacy Policy. Tick the agreement box to continue. A second, optional box controls whether you share detailed diagnostics to help improve Mumble; you can change it any time in Settings.
3
Grant two permissions
Mumble asks for exactly two permissions. Microphone lets it capture what you say; macOS shows its own permission prompt, so just click Allow. Accessibility lets Mumble type your words into other apps; macOS does not prompt for this one, so click Open System Settings and switch Mumble Dictation on in the Accessibility list.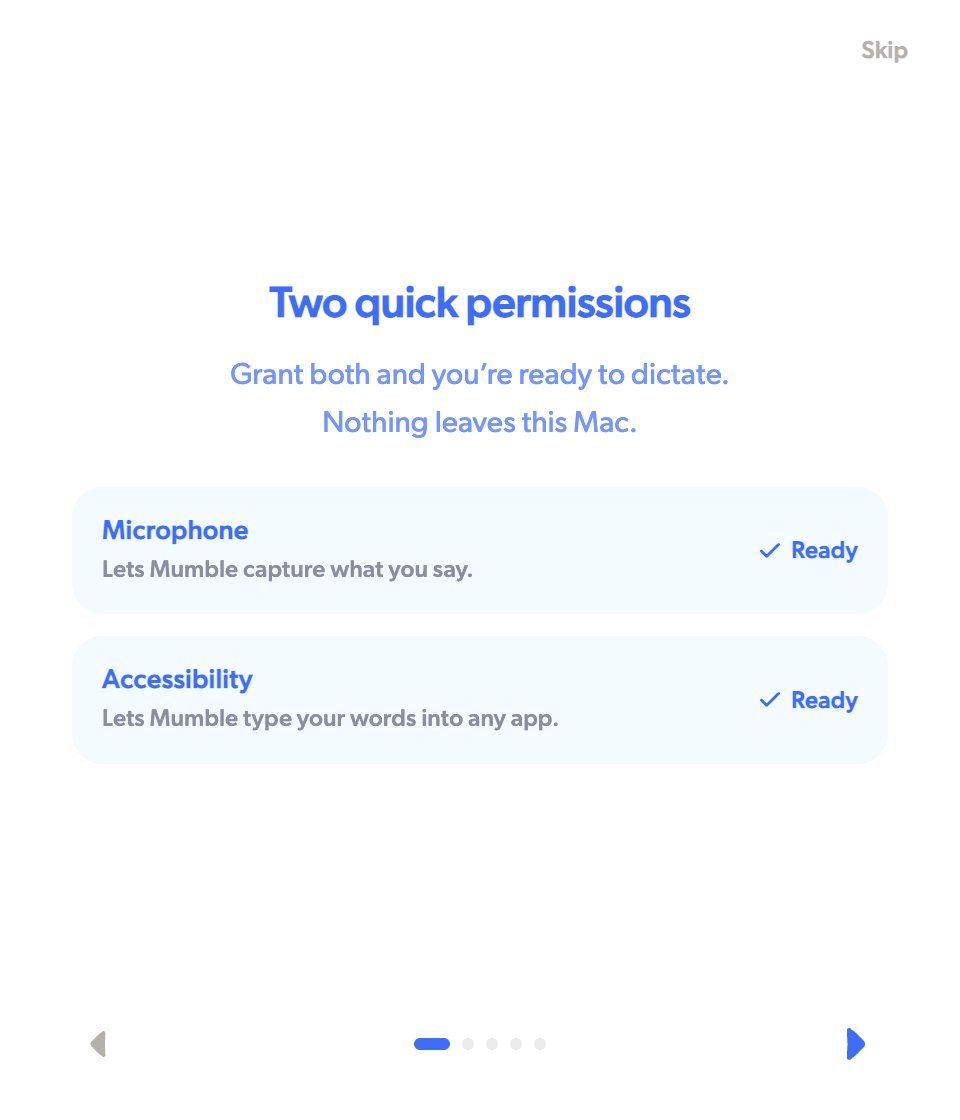
4
Download the models
Click Download model. The voice models (about 2GB) come first, and you can start dictating the moment they finish. The larger language model keeps downloading in the background; you can see its progress inside the app.
5
Choose language and shortcut
Pick the languages you speak, or leave Auto on to let Mumble detect each phrase. Then pick your dictation key. Fn is the default; you can choose another key if Fn is taken.
6
Say something
Click into any text field, hold your dictation key, and talk. Release the key and your words land at the cursor.
If something goes wrong
- A permission was denied earlier. macOS will not ask again. Open System Settings > Privacy & Security, then enable Mumble Dictation under Microphone and Accessibility. Setup cannot continue until both are granted.
- The model download stops. Click Retry. It picks up where it left off, so a flaky connection never restarts you from zero.
- Anything else. See Troubleshooting for the full list of fixes.